
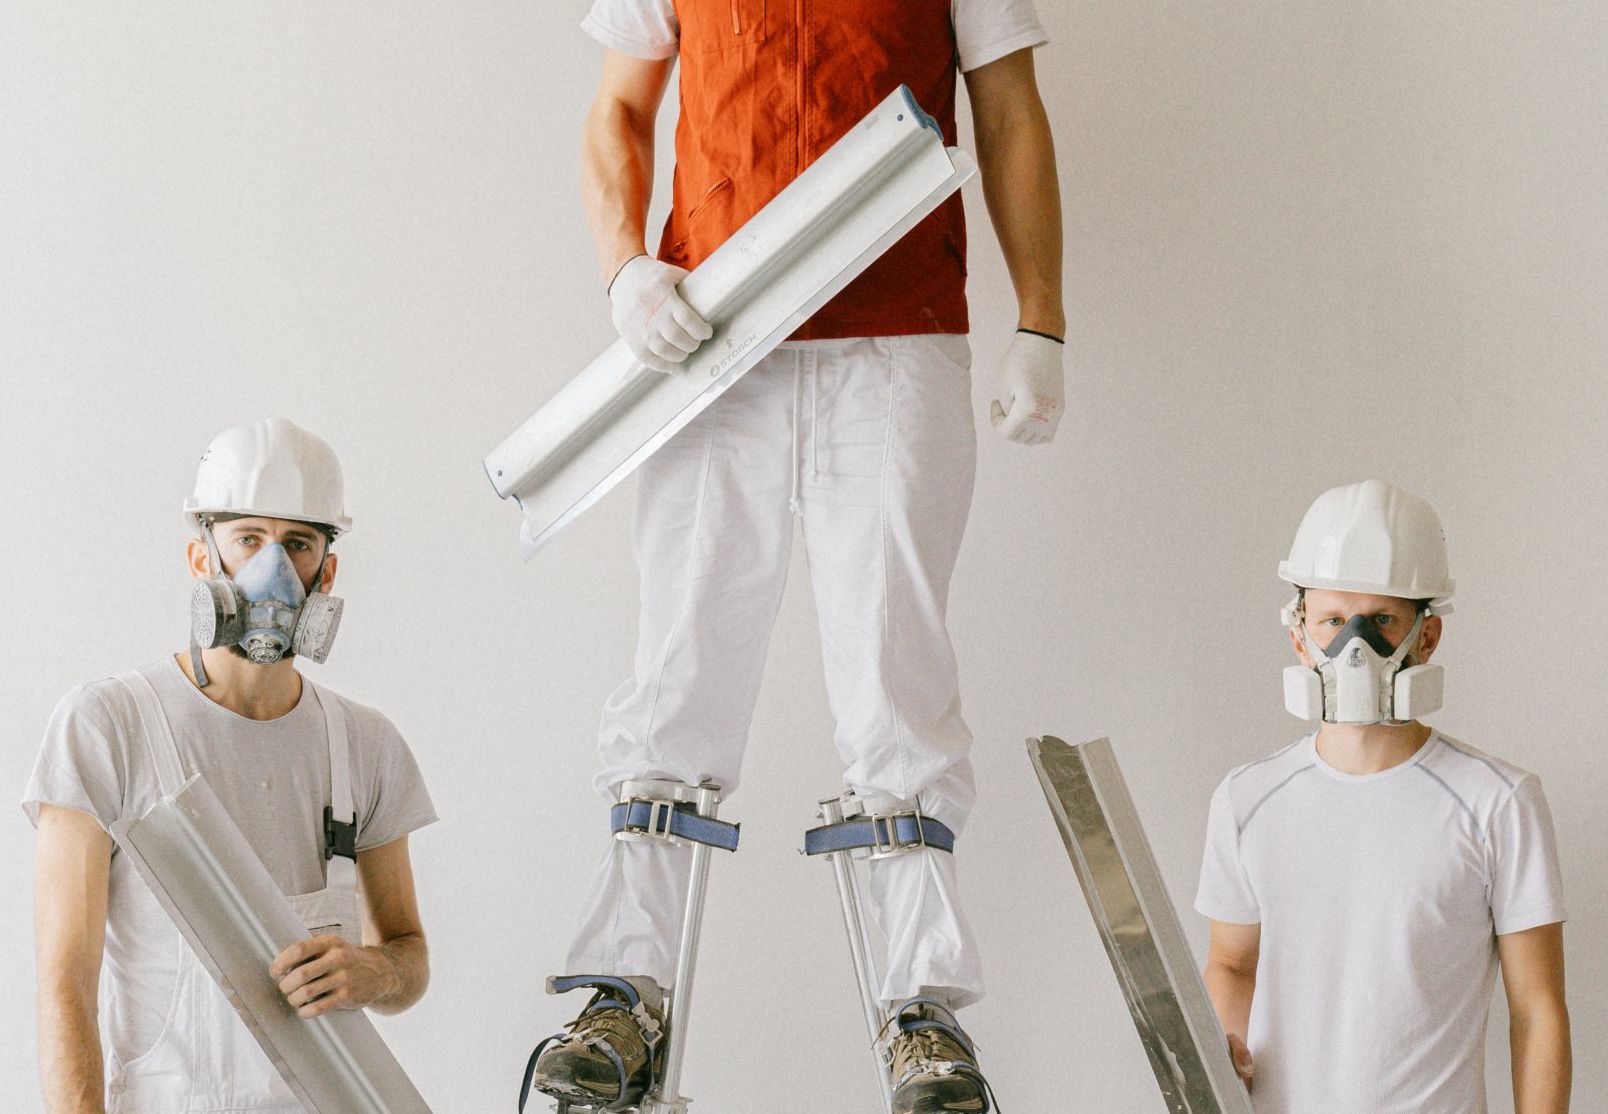
Drywall hang and finish
We take care of the process since the begging with preparing the Drywall Sheets until adding the finishing coats.
Drywall, also called sheetrock or plasterboard, is most commonly used to construct walls and ceilings. If you have drywall that needs to be installed or repaired, you should consider hiring a contractor, as this is not an easy task to accomplish by yourself.
We provide drywall and plaster repair services for home and office spaces. Our work is performed by experienced professionals who take pride in their high-quality craftsmanship and will have your ceilings and walls looking new again in no time. We welcome a project of any size!
Contact Us
Drywall hang and finish
When the Drywall work is completed, a building begins to look like a building, and the multi-year project's completion date approaches. This is a key stage in the project because the Drywall contractor's work is the most visible to the owner and is subject to the greatest scrutiny.
Nonetheless, we thrive in even the most difficult, intricate, and delicate jobs. Our leadership team has over three decades of industry experience and is well-versed in a wide range of materials and finishes. We will install a wide range of items to meet the needs of each project.
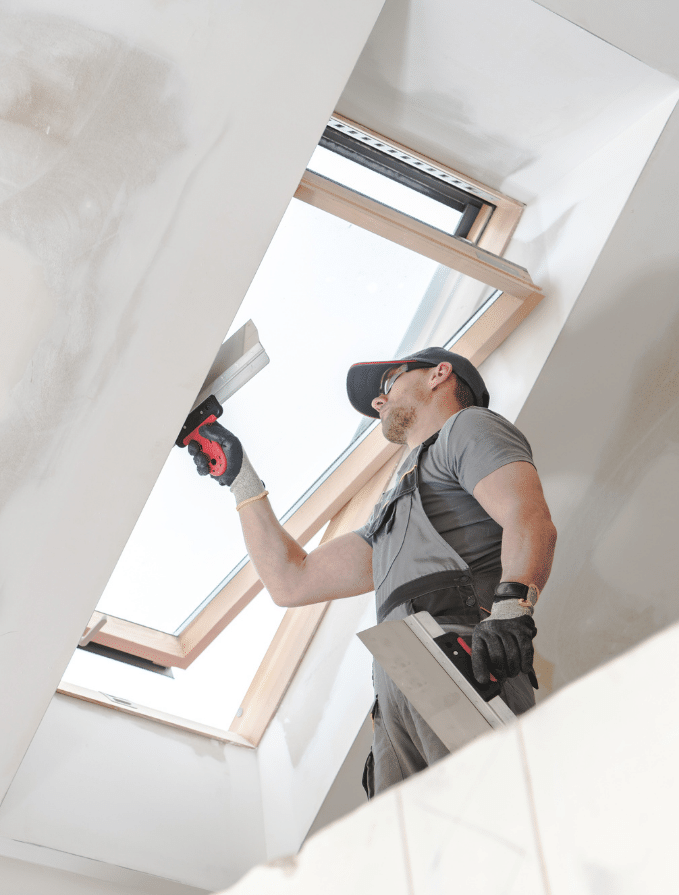
Before and After Drywall Ceilling
Before replacing your ceiling for a drywall ceiling ensure that there are no latent problem that can cause damage. Sagging, warped, moldy, or wet drywall is usually caused by a moisture source. If there is an attic above the damage, the roofing system is most likely faulty. If the damage is below a higher story, there is usually a plumbing issue.
We can take care of your ceiling by following these steps:
- Clearing out Attic Insulation
- Removing the Old Drywall
- Adding Nailing Strips
- Screwing in the New Drywall Panel
- Taping and Mud
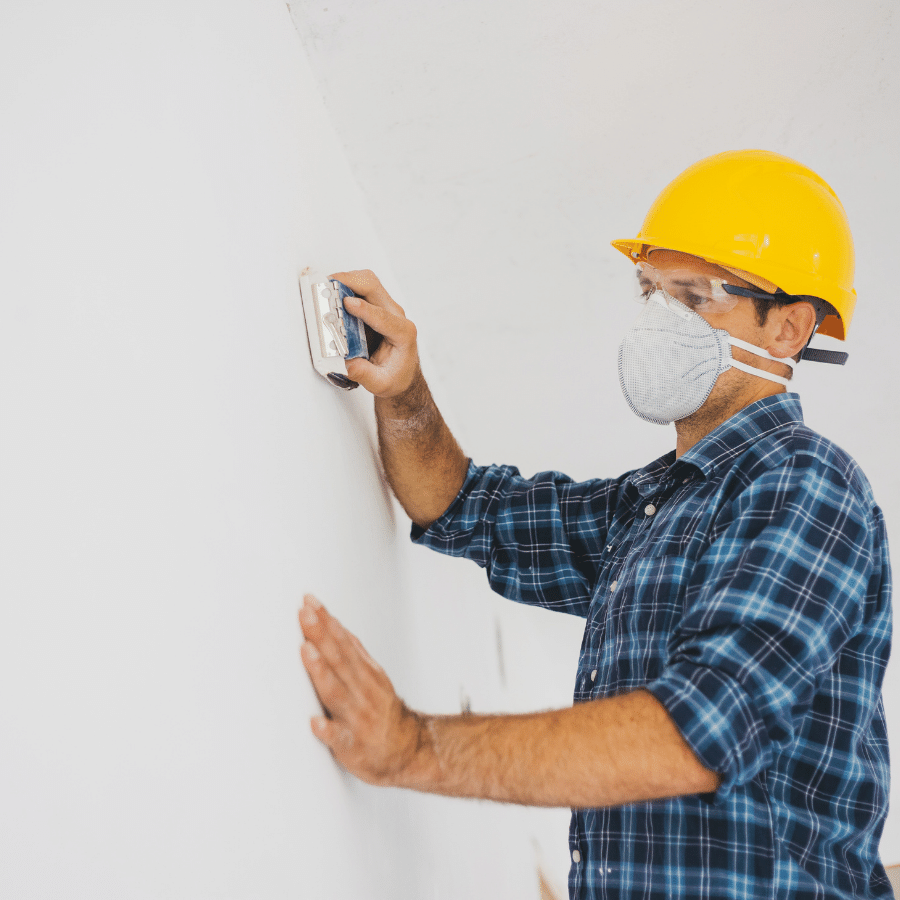
Finishing
Drywall Finishing Levels from 0 to 5
Level 0 Drywall
There will be no taping, finishing, or accessories. This level of finish may be useful during temporary construction or when the final decoration is unknown.
Level 1 Drywall
On all joints and internal angles, apply a single coat of taping set in a joint compound. Frequently specified in plenum spaces above ceilings, attics, areas where the assembly would normally be covered or in building service corridors, and other non-public areas. Sound and smoke control is given to some extent.
Level 2 Drywall
All joints, interior angles, fastener heads, and accessories should be double-coated with joint compound. Non-finished regions behind tile and built-ins, garages, warehouse storage, and other comparable places where surface appearance is secondary.
Level 3 Drywall
Tape imbedded in joint compound, with two applications of joint compound on fastener heads and accessories. Typically used in home interiors and appearance areas where heavy- or medium-textured (spray or hand applied) finishes are to be used before final painting, or when heavy-grade wall coverings are to be applied as the final decoration. When smooth painted surfaces or light to medium wall coverings are specified, this level of polish is not suggested.
Finishing
Drywall Finishing Levels from 0 to 5
Level 4 Drywall
Tape embedded in joint compound, with two separate coats of joint compound applied to all flat joints and one layer applied to interior angles. Three coatings of joint compound were applied on fastener heads and accessories. This level is generally utilized for applying flat paints, mild textures, or wall coverings. Flat paints put over light textures in crucial lighting areas tend to reduce joint photography. Over this level of finish, gloss, semi-gloss, and enamel paints are not advised.
Level 5 Drywall
The entire surface was given a thin skim coat of joint compound. Tape imbedded in joint compound applied to all joints and interior angles, as well as two distinct coats of joint compound applied to all flat joints and one application of joint compound applied to interior angles. Three coatings of joint compound were applied on fastener heads and accessories. Where gloss, semi-gloss, enamel, or non-textured flat paints are specified, or where harsh lighting circumstances exist, this level of finish is strongly recommended. This high-quality polish is the most effective way to achieve a consistent surface and reduce the likelihood of joint photography and fasteners showing through the final decorating.
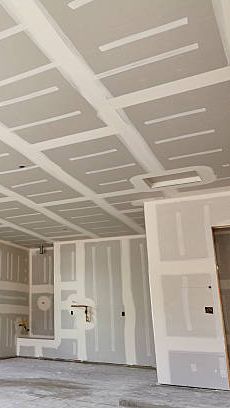
Drywall ceiling
Have you seen a gaping hole or unattractive water spots on the ceiling as a result of a faulty pipe or roof? As your home ages, have you noticed cracks in the ceiling? Is your plaster or popcorn ceiling damaged or damaged? Thanks to Doug Construction, you no longer have to worry about damaging your drywall ceiling. All types of ceiling repairs, including water damage, unintentional holes, cracked or damaged drywall, and our experts do more.
While damage to a ceiling may seem intimidating, it can be fixed with the help of an appropriate professional. Call Doug Construction immediately for drywall ceiling service!
We have implemented the best drywall repair and installation methods, which also helps our clients save tons of money and time. This service is often one of the most commented services we offer. We never charge more than you really need.
Contact Us
Contact Us
Drywall finishing Levels
Level 0: No accessories, trim, or wrapping required.
This degree of finish can be useful when intermediate work is being done or when the final decoration has yet to be determined.
Level 1: Bare clasps and exposed butt tape. Combs and instrument marks are fine. In some regions, this level is called "fire tapping."
Level 2: Connecting tape implanted; clasps covered once. Combs and instrument marks are fine. The application of sealant to the body of the tape when sealing the tape should be considered as a separate sealant layer and meet the requirements of this level.
Level 3: Two layers on the fasteners, one layer on the seam tape. Without combs and traces of tools.
Level 4: Three layers on the fasteners and two layers on the sewn-in tape. All joints should be smooth, without bumps and traces of tools.
Level 5: A "peel" of seam compound is applied to the entire surface, two coats are applied to the built-in seam tape, and three coats are applied to the fasteners. The surface must be even, free of burrs and tool marks.
FOLLOW US ON :
Contact Details
Address:
8308 Rugby Rd, Manassas Park, VA 20111
Phone No:
Email: